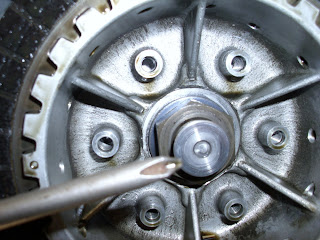
Removing The Yamaha XS650 Clutch

Working on the clutch side of things
Six screws with clutch springs to remove.
There is little spring pressure on these which is unlike a Harley Set up.

They came out pretty easy. I negelcted to get a picture of this removed.

The springs need to be checked for compressed length to see if replacement is needed.

Here is the clutch plunger (or what ever they call it) inside the hub that is activated by the rod from other side of engine. It just slides right on out.

Plunger removed from this hole he'ya

Next, remove the clutch plates and clutch disk's. Carefull, the plates edges can be sharpe
but these seem fine. Although you might as well replace them both if your already in here.
A shot of one each of Clutch disk on the left and plate on the right. There are several of each.


4 comments:
You'll be a expert soon!
Is that grooves dug into the disc? Any metal laying in there?
Billy, well I'm learning the engine that's for certain.
Willy, That is the outer most disc that is against the pressure plate. It's the only one with light grooves which matches the two raised grooves on the pressure plate.
I really enjoy seeing this stuff apart. I find this crap fasch-inating.
Post a Comment